Haldex pump 4th generatiop repairing tutorial
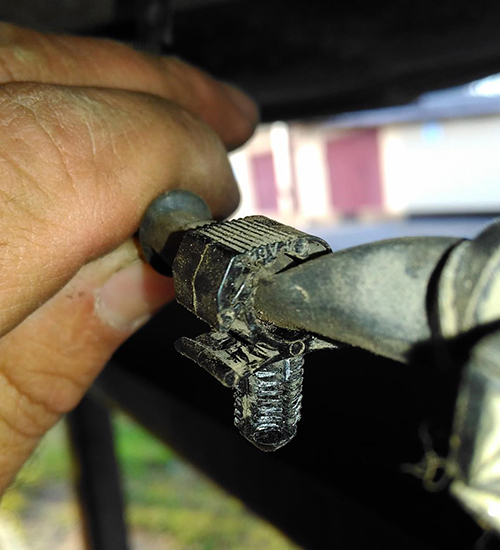
The pump is located at the bottom of the coupling, so first of all you have to drain the oil from couplings. We loosen the filler plug, but do not unscrew it completely, because it is difficult to catch the oil from the drain. Turn off the drain plug, substitute a clean container (if you want to use the oil again) and merge. As soon as the pressure decreases, you can unscrew jellied for air intake, merged. Disconnect the pump connector from the control unit, it is the first from the cardan coupling.
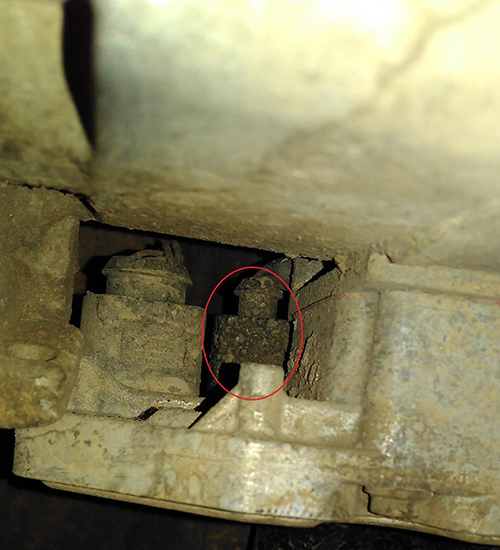
Then we click on the pump cable fasteners. There are only three of them. The upper ones you have to lick on to the touch, or just pull them out from the holes in the clutch. You can practice on the latch nearest to the pump.
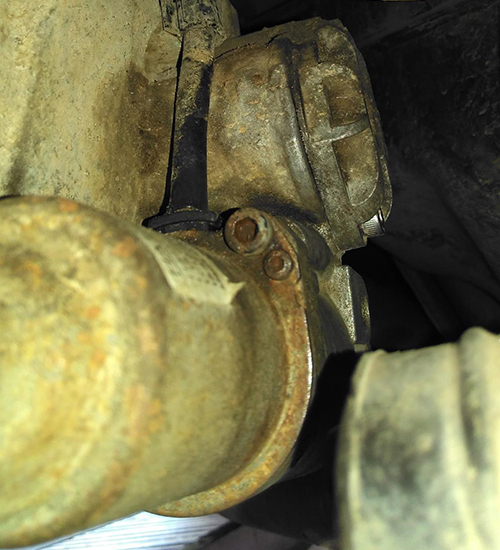
After releasing the cable, unscrew two screws securing the pump and take it out of the coupling. Turn off the two screws securing the motor cover.

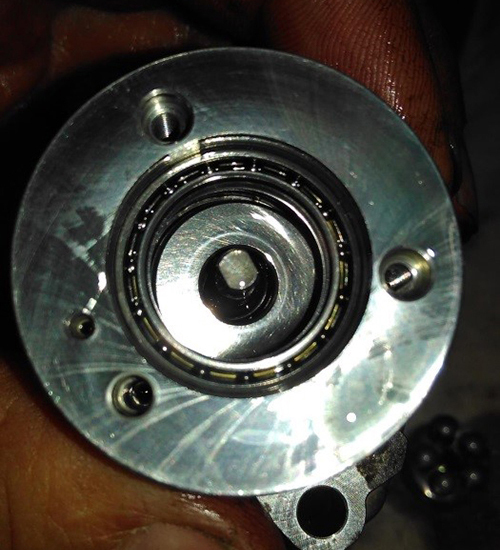
Theoretically, it is possible to estimate the cause malfunction and the possibility of repairing without removing the pump from the coupling. It is enough to unscrew the screws that fasten the pump, but do not pull it out of couplings. And unscrew the screws securing the cover, remove it and you will see something like this.


There is a lot of dirt.

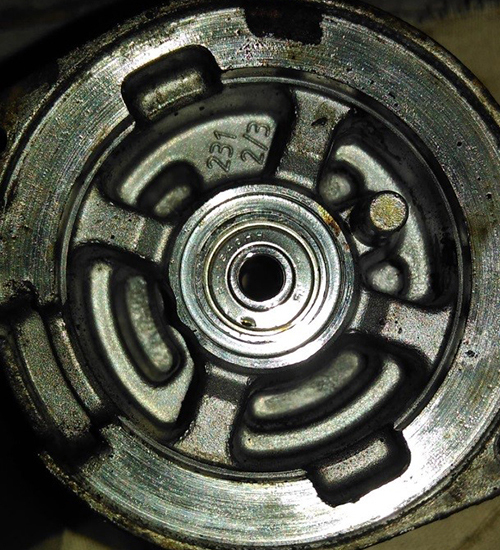
Turn off the screws and remove the mesh.
Next, carefully, hold the pump vertically and unscrew the plan-puck last screw.
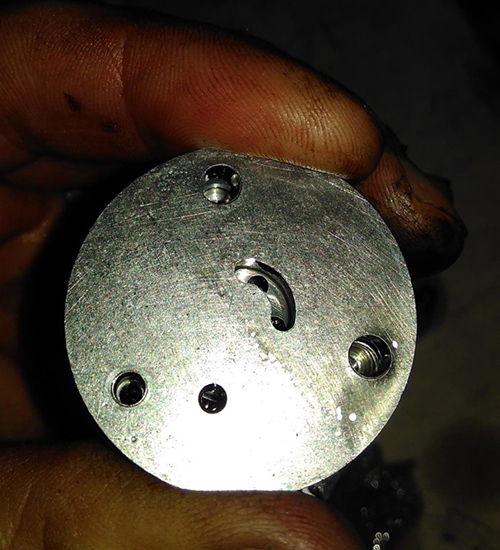
Remove the puck, and you’ll see the plungers block.

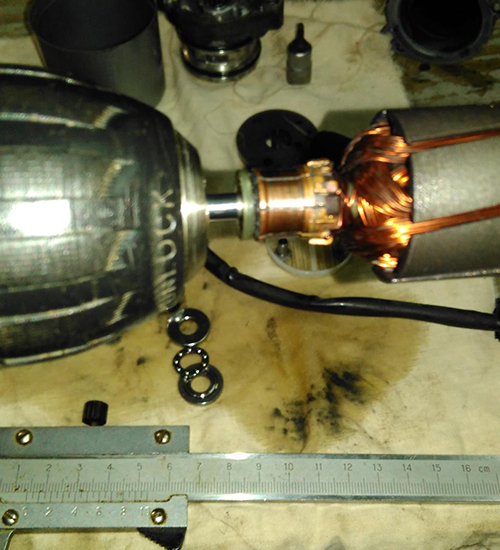
Taking it up is not worth it - everything will be crumbled. It is better to turn the pump over and carefully remove the unit plungers.

Take out the outer bearing.
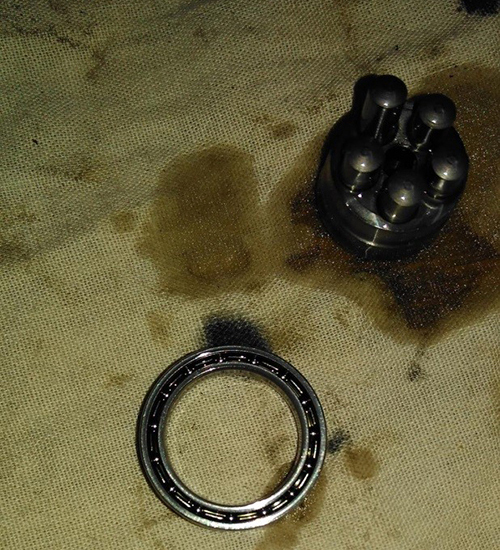
Take out first washer and inner bearing.

Then take out the second washer.

Next, to press out the rotor safely, you need to release the brushes. You can remove the clamping springs, but it is not easy to put them in place after - they strive to jump out of hand. You need tweezers or something like that. You can simply squeeze them and stop them so that they do not interfere passage of the collector. The rotor sits in the bearing quite tight, so fix body in a vice and carefully knock the rotor out of the bearing. The main thing - do not damage the gland!


Next we wrap the rotor shaft with tape.

Clamp in the screwdriver.
Clamp in the lathe and turn it on.

First flatten the surface of the collector with natfil, then with the sandpaper ~ 320, then sandpaper ~ 2000, the output is like a mirror.
Wash and clean the collector of copper dust with a toothbrush. Soak the rear bearing in oil, or in a metal conditioner.
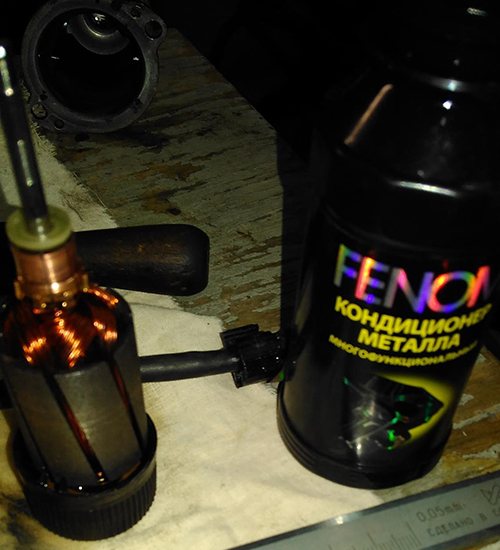
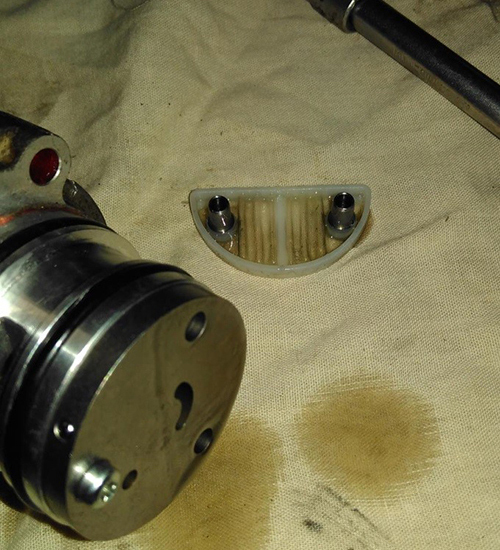
Flush the remaining parts with an alcohol-based cleaner. Put it all in place. Insert the rotor into the front bearing in the housing, do not forget to lubricate it, then press the rotor to the level of coincidence of the guide brushes and the collector. Put in place the spring brushes and check the mobility. Close the cover and check the performance by connecting the power. Polarity doesn’t matter. If the motor is running, you can assemble the pumping unit. Reassemble it in reverse order. A washer - the internal bearing - a washer - the external bearing. Put the plunger block by turning over the pump upside down so that the plungers with springs do not spill out. Put the plan-washer compatible internal holes, fasten the upper screw, insert the mesh into the washer and tighten the remaining screws. This repair is finished! You can set the pump in place. Do not forget to lubricate the sealing rings with oil, because they can be damaged during installation, The new ones are very expensive! Original number 0CQ598305 - Seal Kit for booster pump. Includes two 43.5x2.5 rings and two M6x35 screws. Snap the cable into the clips, insert the connector into place before the click. Fill the oil until it flows out of the filler hole. Twist the cork, but do not tighten. Next lace - 22-wheel drive unit - Test performers - Activate the booster pump.
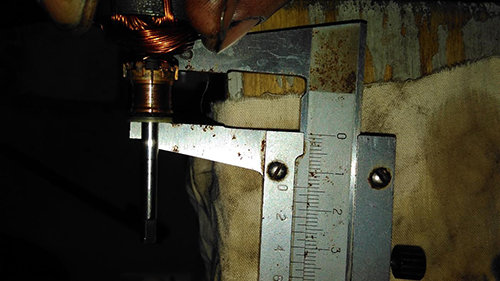
Pump diameter.
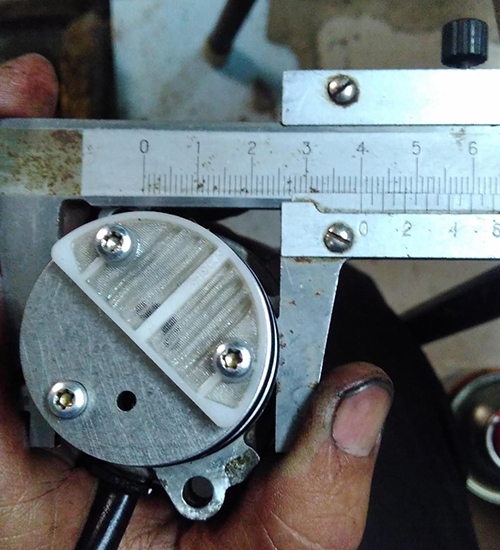
Height with mesh - 35mm.
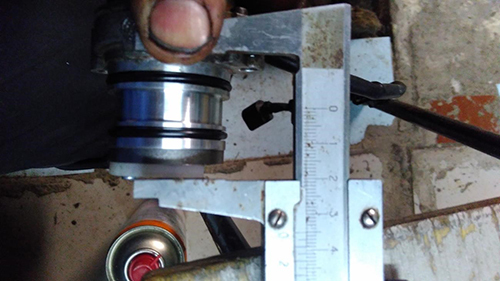
Height without net - 26mm.
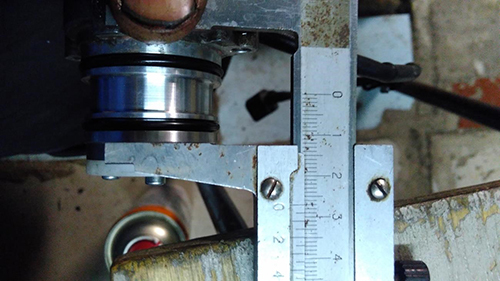
The distance between the centers of the holes of the pump mounting bolts to the coupling is ~ 53.2 mm.
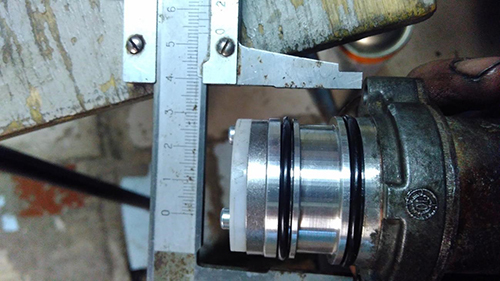
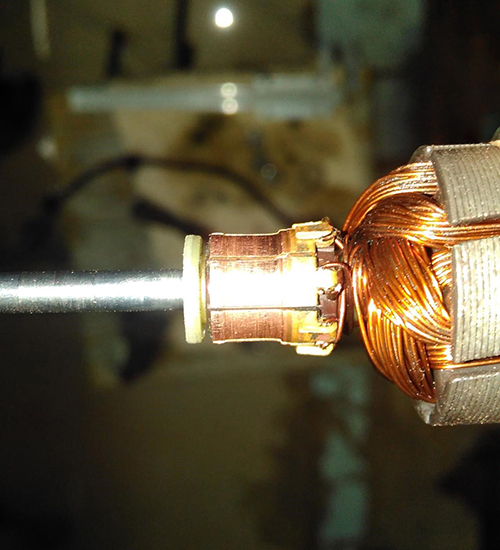
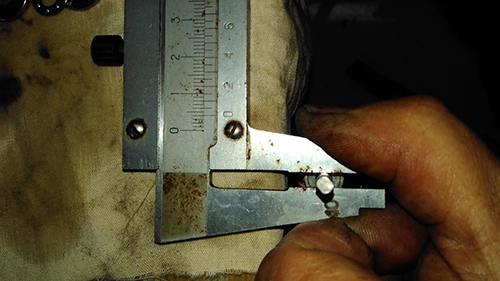
The commutator diameter – 11mm.
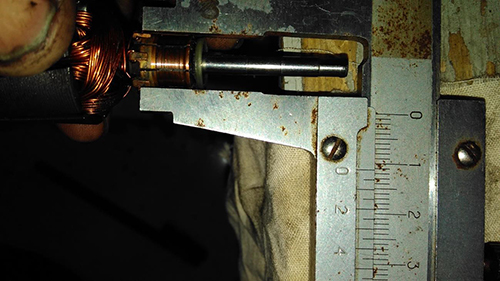
Height ~ 13mm + 1mm plastic washer.
Shaft diameter - 4mm.
Of course this is not the only tutorial to repair The haldex pump 4th generation, and not full. You can find a lot of the information in the Internet. In our store you can purchase special repair kits for Hladex pumps generations 1-5, brush holders for 1-3rd generation and 4th generation, and anchors for Haldex pump 1-3rd generation and Haldex pump 4th generation.